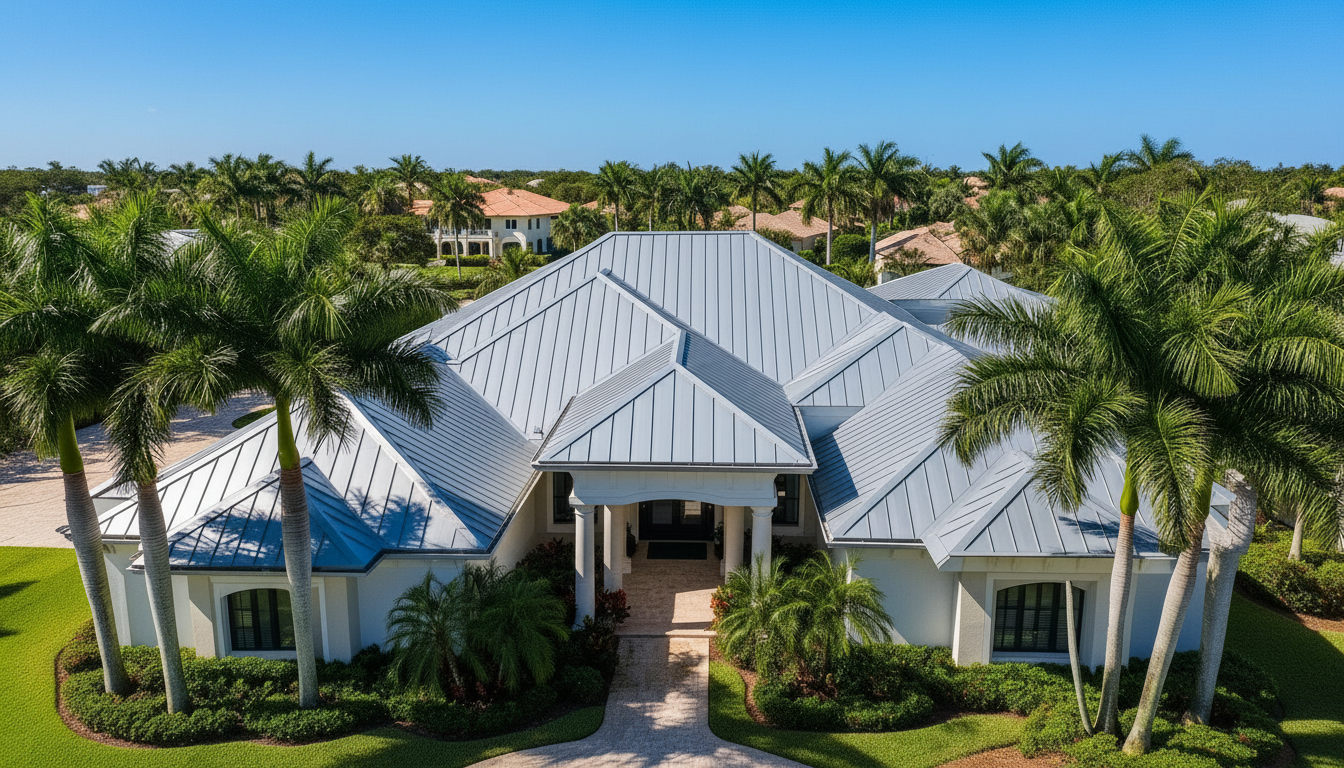
Complete Guide to Emergency Tarping in Marco Island: What Homeowners Need to Know
Complete Guide to Emergency Tarping in Marco Island: What Homeowners Need to Know Emergency roof tarping is a temporary measure that covers damaged roofing
Overview
Complete Guide to Emergency Tarping in Marco Island: What Homeowners Need to Know Emergency roof tarping is a temporary measure that covers damaged roofing to help limit rain intrusion until permanent repairs can be made. For Marco Island homeowners, the safest approach is to stay off a storm-damaged roof, arrange a professional assessment when conditions allow, and address the underlying damage promptly. Heavy rain, strong coastal winds, and windblown debris can leave a roof vulnerable to additional water damage. A properly secured tarp may reduce that exposure, but it does not restore the roof or guarantee a leak-free home. Understanding its purpose, limitations, and installation process can help you make informed decisions during a stressful situation. When Does a Roof Need Emergency Tarping? Tarping may be appropriate when roof damage creates an opening or exposes materials that should remain protected from weather. Warning signs include missing shingles, displaced tiles, impact damage from branches, and visible gaps around roof penetrations. Inside the home, new ceiling stains, dripping water, or wet insulation can indicate a problem that needs attention. Not every leak
Continued (2)
requires a tarp. A localized flashing problem may call for another temporary measure, while widespread damage may need more extensive protection. Water can also travel along framing before appearing indoors, so the stain on your ceiling may not identify the actual entry point. If you see sagging ceilings, damaged electrical fixtures, or signs of structural movement, keep people away from the affected area. Leave any area that appears unsafe and contact emergency services when there is an immediate threat. Why Marco Island Conditions Matter Marco Island’s coastal setting makes wind resistance and water drainage important considerations. A loose tarp can flap, tear, or lift during gusts. Poor placement can also direct runoff beneath the covering or toward another vulnerable roof section. Tile roofs require particular care because walking on them can crack tiles, especially when they are already damaged. Metal and shingle systems also require attachment methods suited to their construction. Salt exposure may contribute to deterioration of some metal components over time, making inspection of nearby flashing and fasteners worthwhile. After a widespread storm, access, material availability, and safe
Continued (3)
working conditions can affect scheduling. Temporary protection should be planned around actual conditions rather than promises that ignore lightning, high winds, or unstable roofing. What to Do Before Help Arrives Focus first on people, pets, and safe interior protection. Move belongings away from active leaks if you can do so without entering a hazardous area. Catch manageable drips in containers, but do not stand beneath a bulging ceiling or attempt to puncture it yourself. Avoid wet outlets, light fixtures, and electrical equipment. If water is near electrical components, seek guidance from a qualified electrician or emergency personnel. Do not approach an electrical panel through standing water. Take photographs from the ground and from safe indoor locations. Record when you noticed the damage and what temporary steps were taken. Avoid climbing ladders or entering an attic with uncertain footing, exposed wiring, or suspected structural damage. Step-by-Step: How Emergency Roof Tarping Works Step 1: Evaluate safety and access The roofing professional first considers weather, roof height and slope, access points, and visible structural concerns. Wet surfaces, debris, nearby power lines, and weakened
Continued (4)
decking may prevent immediate roof access. Waiting for safe conditions is preferable to risking a serious injury. Step 2: Assess and document the damage The damaged area is inspected as conditions permit. Photos and notes help establish the roof’s condition before temporary work begins. The assessment should consider potential entry points above and around the obvious damage, not just the spot where water is visible inside. Step 3: Select the temporary protection Tarp size, material, coverage, and attachment must suit the roof and damage. The covering generally needs to extend beyond the affected area and shed water toward the roof edge. Some situations require a different temporary repair or additional stabilization rather than tarping alone. Step 4: Prepare and secure the covering Loose debris is addressed where safe, and the tarp is positioned to reduce gaps, pockets, and wind exposure. Attachment methods should account for the roofing material and the need to avoid unnecessary damage. This is not a homeowner installation guide: roof work involves fall hazards and can worsen existing damage. Step 5: Check drainage and explain limitations After
Continued (5)
placement, the installer checks coverage, edges, and drainage where accessible. Ask what the tarp protects, what remains vulnerable, and what changes should prompt another inspection. Get a written description of the temporary work and recommended next steps. Step 6: Arrange permanent repairs Temporary protection should lead to a repair plan, not an indefinite delay. Permanent work may involve roofing materials, flashing, underlayment, or decking. Interior drying and moisture evaluation may also be necessary because a tarp cannot remove water already inside the building. What Affects Emergency Tarping Costs? There is no reliable flat price for every roof in Marco Island. An honest quote depends on the actual damage, access requirements, and scope of temporary work. Ask for an itemized written estimate rather than relying on a price that assumes all roofs are alike. Major cost factors include the size and number of damaged areas, roof height and pitch, roofing material, and the condition of the surface supporting the tarp. Difficult access, debris removal, specialized safety equipment, and multiple separate coverings can add labor or materials. Emergency scheduling and storm-related demand
Continued (6)
may also affect pricing and availability. Ask whether the quoted amount includes materials, installation, documentation, follow-up visits, and eventual tarp removal. Permanent repairs and interior restoration may be separate expenses; make sure those boundaries are clear before authorizing work. Insurance Documentation and Follow-Up Contact your insurer promptly to understand your policy’s reporting and damage-mitigation requirements. Coverage depends on policy terms, the cause of damage, deductibles, and the insurer’s review. Installing a tarp does not guarantee that a claim or any particular expense will be approved. Keep photographs, estimates, invoices, and receipts for temporary protection. Document later leaks or changes without putting yourself at risk. Ask your insurer what records it needs, but do not postpone reasonable safety measures while trying to photograph every detail. After tarping, watch for renewed dripping, expanding stains, or visible movement of the covering from the ground. Report changes promptly and avoid adjusting the tarp yourself. Frequently Asked Questions How long can an emergency roof tarp stay in place? There is no universal safe duration. Weather exposure, tarp quality, attachment, and roof condition all matter. Treat
Continued (7)
it as short-term protection and schedule permanent repairs as soon as reasonably possible. Can I tarp my own roof? Storm-damaged roofs present fall, electrical, and structural hazards. Professional assessment and installation are the safer choice, particularly on steep, wet, high, or tile roofs. Will a tarp stop every roof leak? No. Multiple entry points, hidden damage, wind-driven rain, or movement of the covering can allow continued leakage. New or persistent water intrusion requires reassessment. Should I wait for the insurance adjuster before getting temporary protection? Contact your insurer for instructions, but do not assume you must leave damage exposed. Document conditions safely, keep receipts, and ask about your policy’s requirements for reasonable temporary mitigation. Concerned about storm damage to your Marco Island roof? Request a Roof Inspection from O'Brien Contracting.
O'Brien Contracting — Florida roofing contractor, license CCC1335947. Call (239) 919-4485.
Related pages