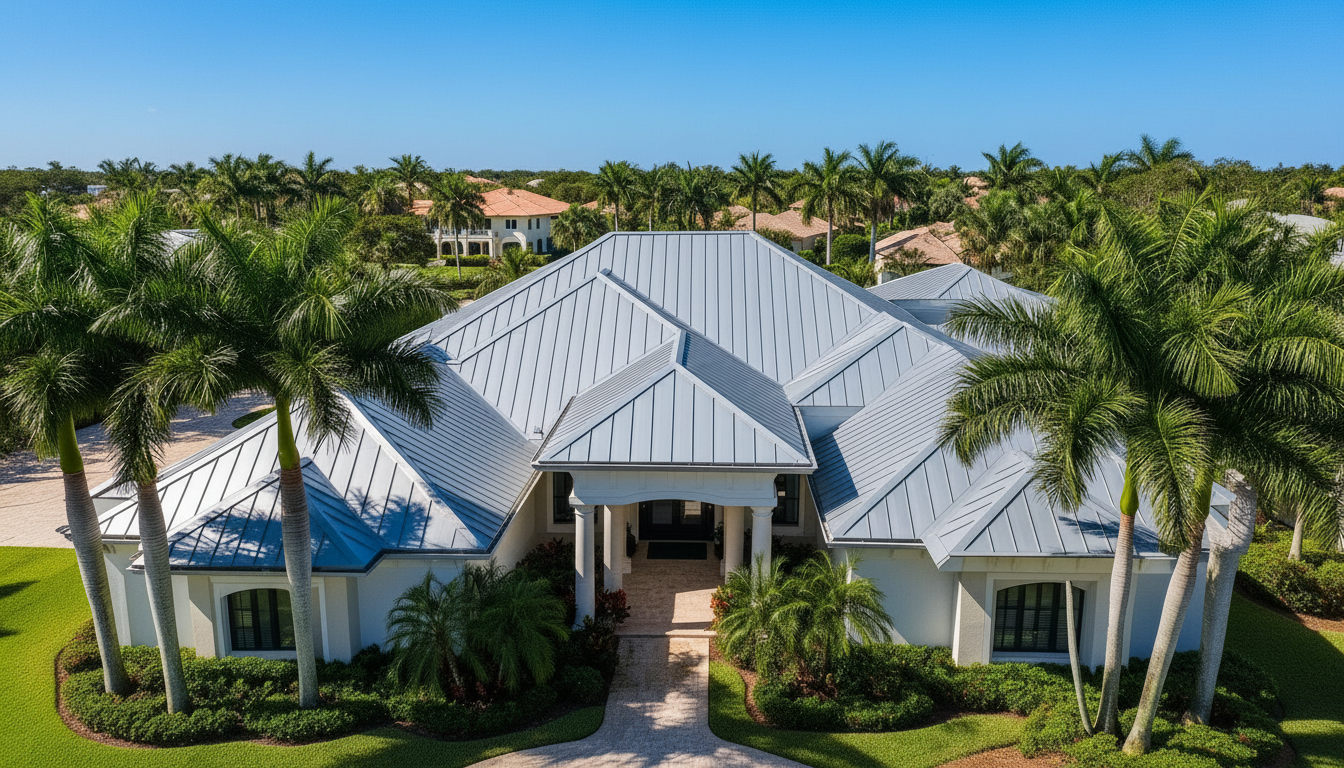
Complete Guide to Storm Damage Repair in Sanibel Island: What Homeowners Need to Know
Complete Guide to Storm Damage Repair in Sanibel Island: What Homeowners Need to Know Storm damage repair in Sanibel Island starts with protecting your hou
Overview
Complete Guide to Storm Damage Repair in Sanibel Island: What Homeowners Need to Know Storm damage repair in Sanibel Island starts with protecting your household, documenting visible damage from a safe location, and arranging a professional roof inspection. The right repair depends on whether wind, flying debris, or water affected only the roof covering or also damaged flashing, underlayment, decking, and other parts of the roofing system. For island homeowners, a roof can look mostly intact while still allowing water inside. Understanding what to check, how the repair process works, and what affects the cost can help you make informed decisions after a storm. How Storms Damage Sanibel Island Roofs Sanibel Island roofs face strong winds, wind-driven rain, and airborne debris during tropical storms, hurricanes, and severe thunderstorms. Coastal exposure can also contribute to corrosion of metal components over time, making their condition important during an inspection. Wind can lift shingles, displace tiles, loosen metal panels, or damage roof edges. Debris may puncture roofing materials or crack tiles without creating an obvious opening from the ground. Rain can then enter
Continued (2)
through compromised seams, flashing, fasteners, or penetrations around vents. Damage is not always limited to the spot directly above a ceiling stain. Water may travel along framing or other surfaces before becoming visible indoors. A repair should address the entry point and any affected underlying materials, not simply cover the interior stain. Warning Signs Homeowners Should Watch For From a safe ground-level position, look for missing shingles, displaced tiles, bent metal, loose edge trim, or roofing debris in the yard. Damaged gutters and soffits may also indicate areas that deserve closer evaluation, although they do not automatically mean the roof needs replacement. Inside, watch for new ceiling discoloration, damp insulation, peeling paint, musty odors, or water around attic openings. Check accessible spaces only when conditions are safe. Do not enter an attic with wet electrical equipment, unstable surfaces, or signs of structural damage. A lack of visible leaks does not rule out damage. An inspection is especially worthwhile after nearby debris impacts, noticeable changes to the roof, or unusually severe winds. Step-by-Step Storm Damage Repair Process Step 1: Put Safety
Continued (3)
Before Cleanup Stay away from downed power lines, hanging branches, unstable roofing, and standing water near electrical equipment. Do not climb onto the roof to inspect it or install a tarp yourself. Wet surfaces, loose materials, and hidden damage create serious fall risks. If a ceiling is sagging or the structure appears unsafe, keep people away and seek appropriate emergency assistance. Follow local reentry instructions and access restrictions after major storms. Step 2: Document What You Can Safely See Photograph exterior damage from the ground and record interior leaks or stains. Note when you first observed each issue and keep storm-related receipts, inspection reports, and contractor communications together. Take pictures before cleanup when practical, but do not delay necessary safety measures just to preserve evidence. Save older roof records and photographs, if available, because they may help establish the roof’s previous condition. Step 3: Limit Additional Water Exposure Move belongings away from leaks when it is safe, and use containers to catch drips without placing yourself beneath a damaged ceiling. A qualified professional can determine whether temporary roof protection is
Continued (4)
appropriate. Temporary coverings are not permanent repairs and may require monitoring. Ask what the temporary work includes, how it will be secured, and what follow-up is needed. Keep documentation of mitigation work and related expenses. Step 4: Arrange a Detailed Roof Inspection The inspection should evaluate the roof covering, flashing, penetrations, edges, and accessible underlying components. Depending on the findings, additional investigation may be necessary to identify concealed moisture or damaged decking. Ask for photographs and a written explanation of the findings. The report should distinguish observed damage from suspected conditions and explain any limitations caused by inaccessible areas or temporary coverings. Step 5: Compare the Repair Scope A useful proposal explains which materials will be removed, what will be replaced, and how adjoining roof areas will be integrated. It should also address debris removal, temporary protection, applicable permits, and how hidden damage will be handled. Compare proposals by scope rather than total cost alone. A lower initial figure may exclude decking repairs, flashing replacement, or other necessary work. Ask for written clarification before signing. Step 6: Complete Repairs and
Continued (5)
Review the Work Before work begins, confirm applicable City of Sanibel permitting requirements and any required inspections. Requirements depend on the project and current rules; emergency conditions do not necessarily eliminate permitting obligations. After repairs, request completion photographs and applicable permit documentation. Keep the final invoice and material information with your home records. Address wet interior materials separately, and investigate recurring moisture rather than assuming every stain is old. Repair or Replacement: Which Makes Sense? Localized damage may be repairable when surrounding materials remain serviceable and the repaired area can be properly integrated. Examples include a limited area of damaged shingles or an isolated flashing problem, provided inspection findings support that approach. Replacement may deserve consideration when damage is widespread, underlying components are compromised, or existing materials are too deteriorated to support dependable repairs. Material availability and applicable building requirements can also affect the decision. Roof age alone does not determine the answer. Ask the contractor to explain why the proposed solution fits the actual condition of your roof and what limitations remain. What Affects Storm Damage Repair Costs? There
Continued (6)
is no reliable one-size-fits-all price without evaluating the roof. Major cost factors include the damaged area, roofing material, roof slope, height, accessibility, and the complexity of valleys, flashing, and penetrations. Concealed damage can change the scope after materials are removed. Wet insulation, deteriorated decking, and damaged framing may require additional work. Island access, material delivery, debris disposal, and post-storm demand can also influence project costs and scheduling. Ask whether the estimate includes permit fees, temporary protection, cleanup, and applicable inspections. For uncertain conditions, request a written process for documenting added work and obtaining your authorization. Avoid treating an initial estimate as a guaranteed final total unless the agreement explicitly supports that expectation. Insurance and Contractor Decisions Review your policy and contact your insurer promptly about reporting requirements, deductibles, and documentation. Coverage depends on your policy, the cause of damage, and the insurer’s evaluation; a contractor cannot guarantee claim approval. Independently verify a contractor’s credentials and insurance before hiring. Read the contract carefully, including payment terms, exclusions, and change-order procedures. Be cautious about pressure to sign immediately or promises that you
Continued (7)
will have no out-of-pocket costs. Frequently Asked Questions Should I get an inspection if my roof is not leaking? Yes, especially after severe winds or a suspected debris impact. Some damage affects water resistance without producing an immediate indoor leak. Can storm-damaged tiles simply be replaced? Sometimes. The surrounding tiles, attachment system, underlayment, and availability of compatible materials must be evaluated before choosing a localized repair. Should I wait for insurance before stopping a leak? Do not leave an active leak unaddressed solely while awaiting a claim decision. Review your policy’s mitigation requirements, document conditions, and keep receipts for reasonable protective work. How long does storm damage repair take? Timing depends on damage severity, safe access, material availability, permitting, inspections, and weather. Request a project-specific schedule and updates if conditions change. Protect your Sanibel Island home with a clear understanding of your roof’s condition. Request a Roof Inspection from O'Brien Contracting.
O'Brien Contracting — Florida roofing contractor, license CCC1335947. Call (239) 919-4485.
Related pages